Step-by-step guide with screenshots to installing the Dialogic TAPI Wave
Driver
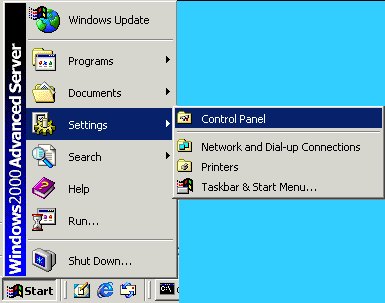
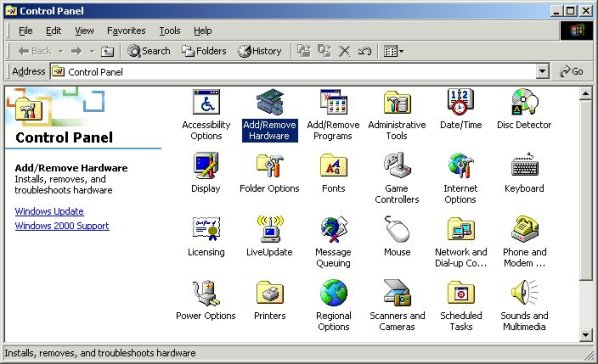
1) Select and open the "Add\Remove Hardware" app from your systems
Control Panel.
********************************************************
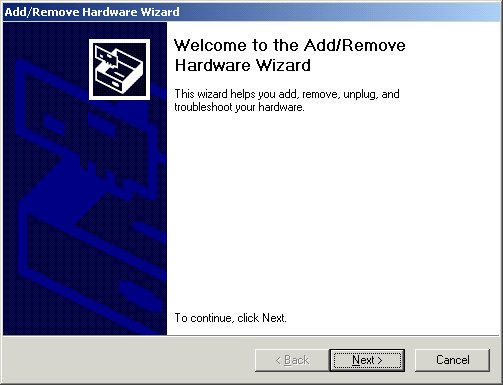
2) Hit the "Next" button.
********************************************************
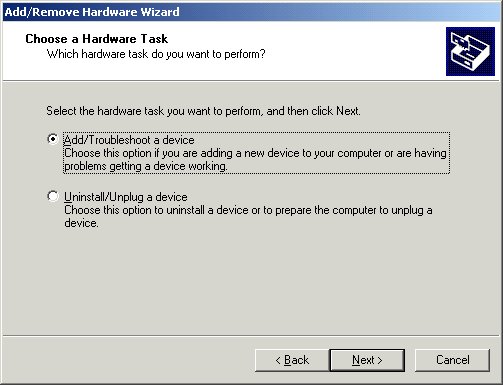
3) Select the "Add\Troubleshoot a Device" option and hit the "Next"
button.
********************************************************
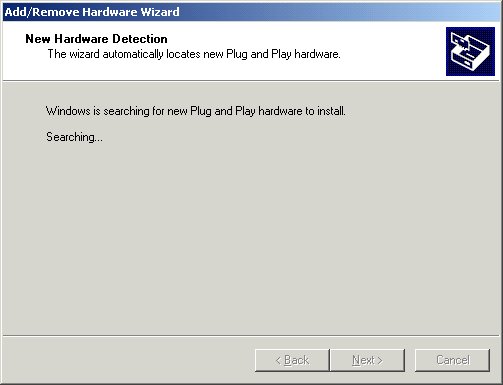
Wait for Windows to finish searching your system and then proceed.
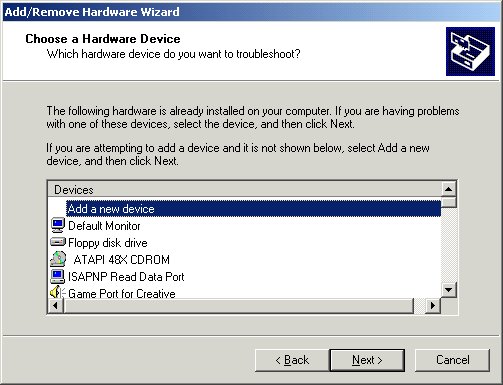
4) Highlight the "Add a New Device" selection (at the top of the list)
and hit the "Next" button.
********************************************************
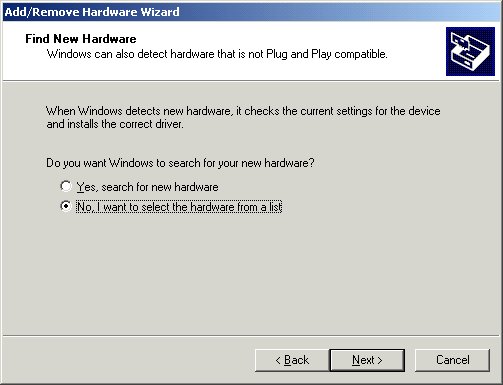
5) Select the "No" option and hit the "Next" button.
********************************************************

6) Highlight the "Sound, Video & Game Controllers" option and hit
the "Next" button.
********************************************************
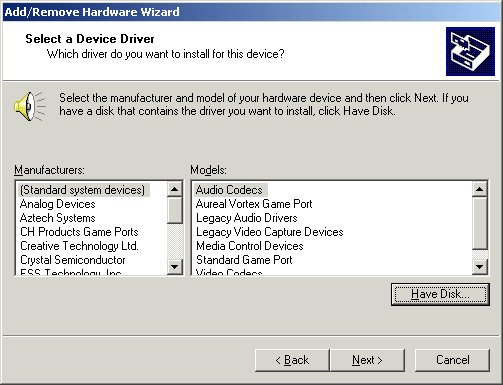
7) Hit the "Have Disk" button without highlighting any particular
selection.
********************************************************
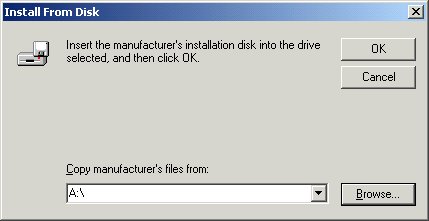
8) Hit the "Browse" button to select the location of the Dialogic
drivers.
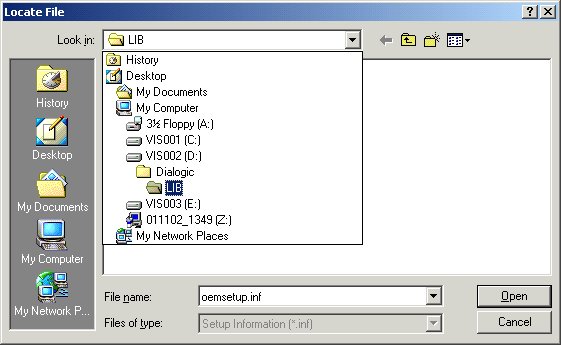
(Note: the above is just a sample of a typical location.)
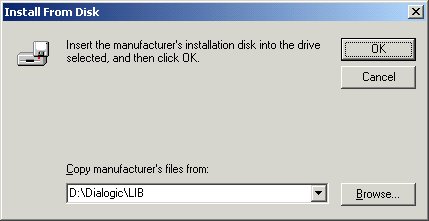
9) Once the location of the drivers is selected hit the "OK"
button.
********************************************************
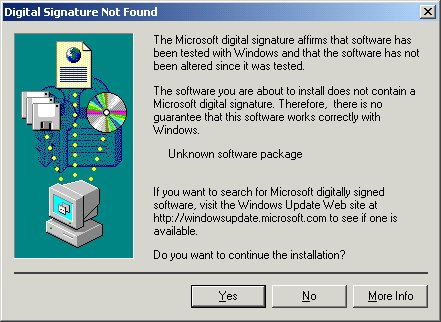
10) Continue past this warning by hitting the "Yes" button.
********************************************************
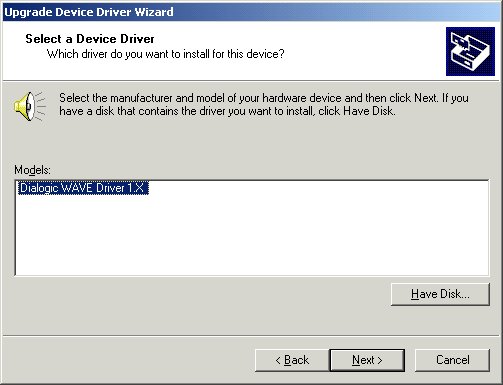
11) Highlight the "Dialogic Wave" driver and hit the "Next" button.
********************************************************
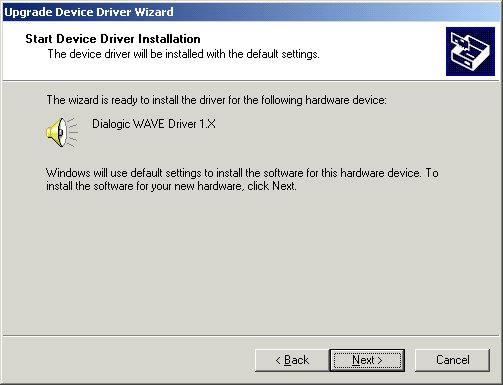
12) Hit the "Next" button to install the Dialogic Wave driver.
********************************************************
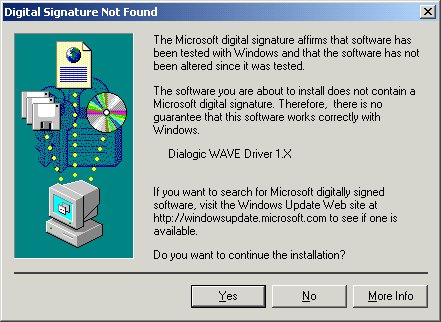
13) Continue past this warning by hitting the "Yes" button.
********************************************************
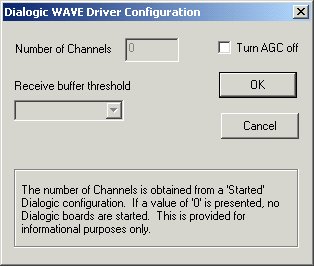
14) Continue past the Dialogic Wave Driver Configuration screen by
hitting the "OK" button .
********************************************************
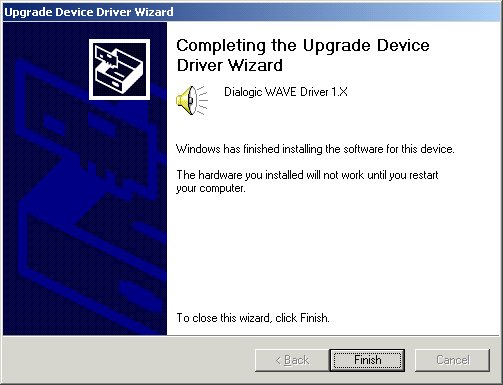
15) Finalize the driver installation by hitting the "Finish"
button. |

